Difference between revisions of "CM5-LCD::Locks"
Jump to navigation
Jump to search
| Line 2: | Line 2: | ||
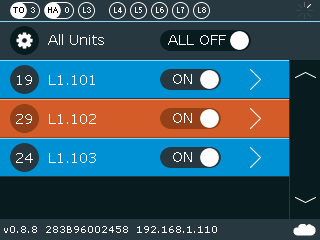
* Select the zone by pressing on the relevant line<br> | * Select the zone by pressing on the relevant line<br> | ||
[[File:CM5-LCD-Temp-Limit-1.png]]<br><br> | [[File:CM5-LCD-Temp-Limit-1.png]]<br><br> | ||
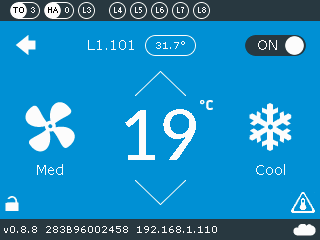
| − | * Press on the | + | * Press on the lock icon (bottom left corner)<br> |
[[File:CM5-LCD-Temp-Limit-2.png]]<br><br> | [[File:CM5-LCD-Temp-Limit-2.png]]<br><br> | ||
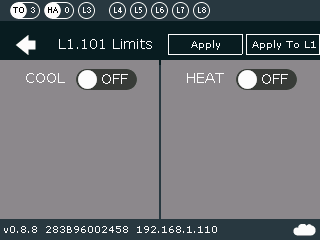
* Enable Cool/Heat limits by setting the slider to “ON” position<br> | * Enable Cool/Heat limits by setting the slider to “ON” position<br> | ||
Revision as of 02:23, 18 October 2020
Setting Lock on a selected Zone
- Select the zone by pressing on the relevant line
- Press on the lock icon (bottom left corner)
- Enable Cool/Heat limits by setting the slider to “ON” position
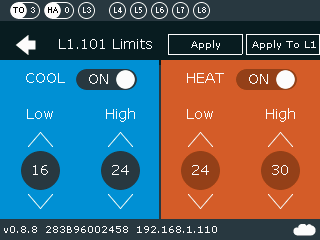
- Set temperature limits and press "Apply" (to set it to selected zone only) or "Apply to L1" (to set it to all zones connected to L1)
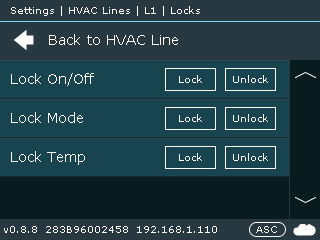
Setting Lock on a selected Line
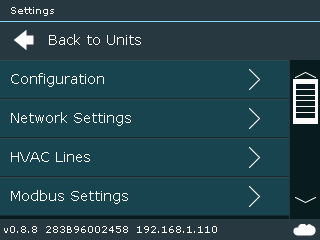
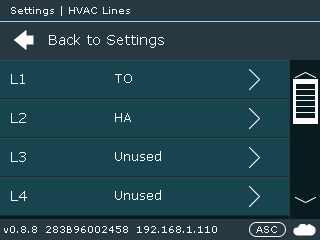
- Settings > HVAC Lines
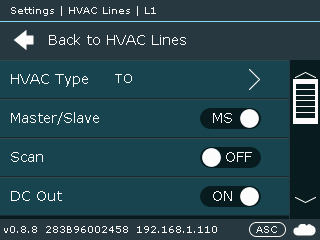
- Select HVAC Line you want to configure
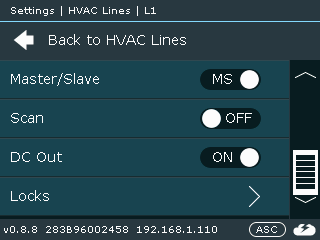
- Select Locks
- Enable/disable required lock type by pressing on "Lock" or "Unlock"
